Lesson 1: Setting up the project
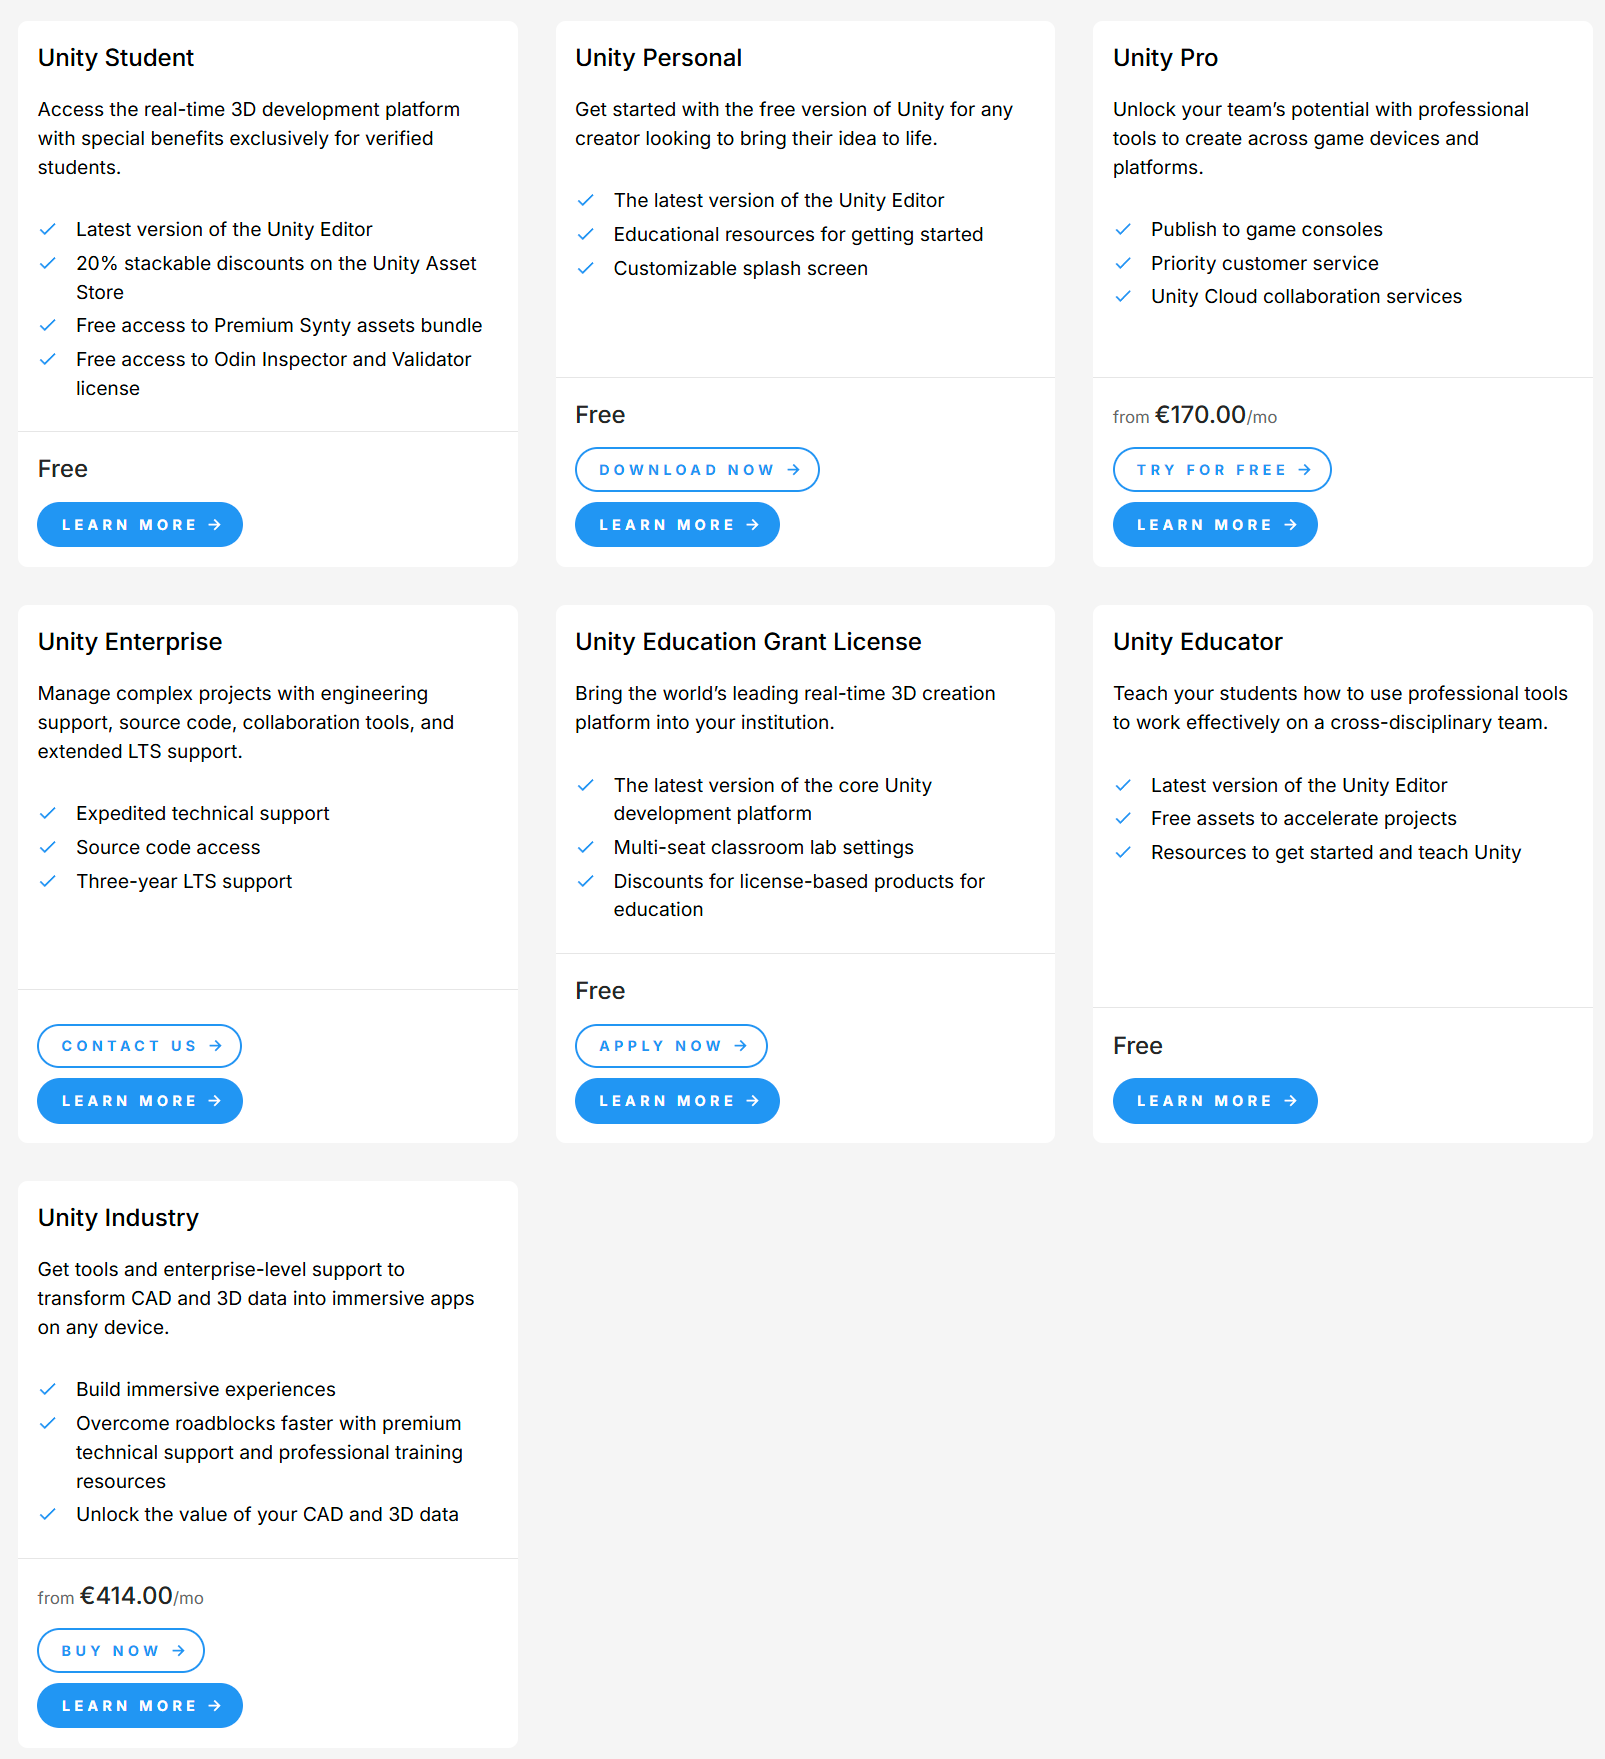
At the page https://unity.com/products you can choose the version to download. For beginners, the personal (and free) edition is more than enough.
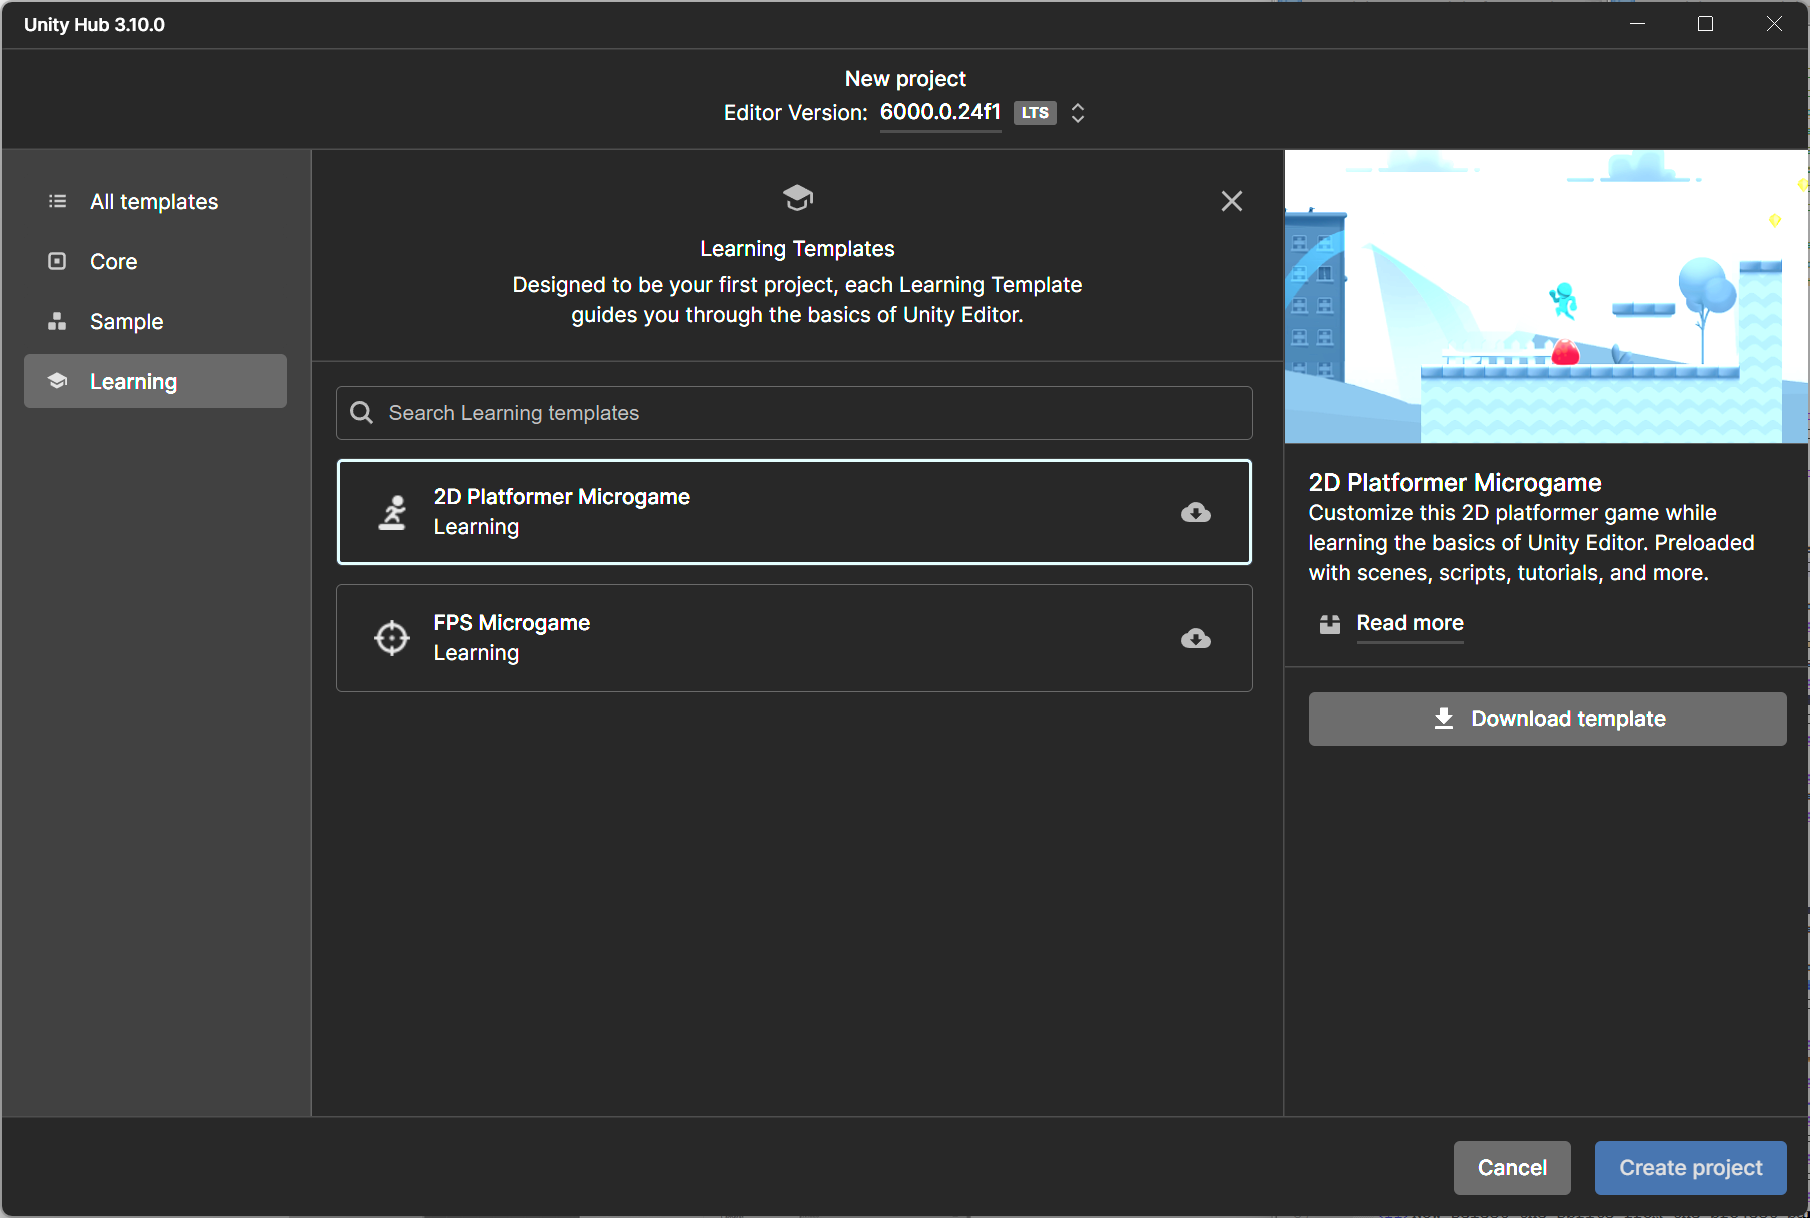
Once Unity has been installed, run it and start a new project. You can select from multiple templates that allow you to import the assets already prepared by Unity to simplify your work. In this case, we are going to use an Universal 2d template, which is quite general.
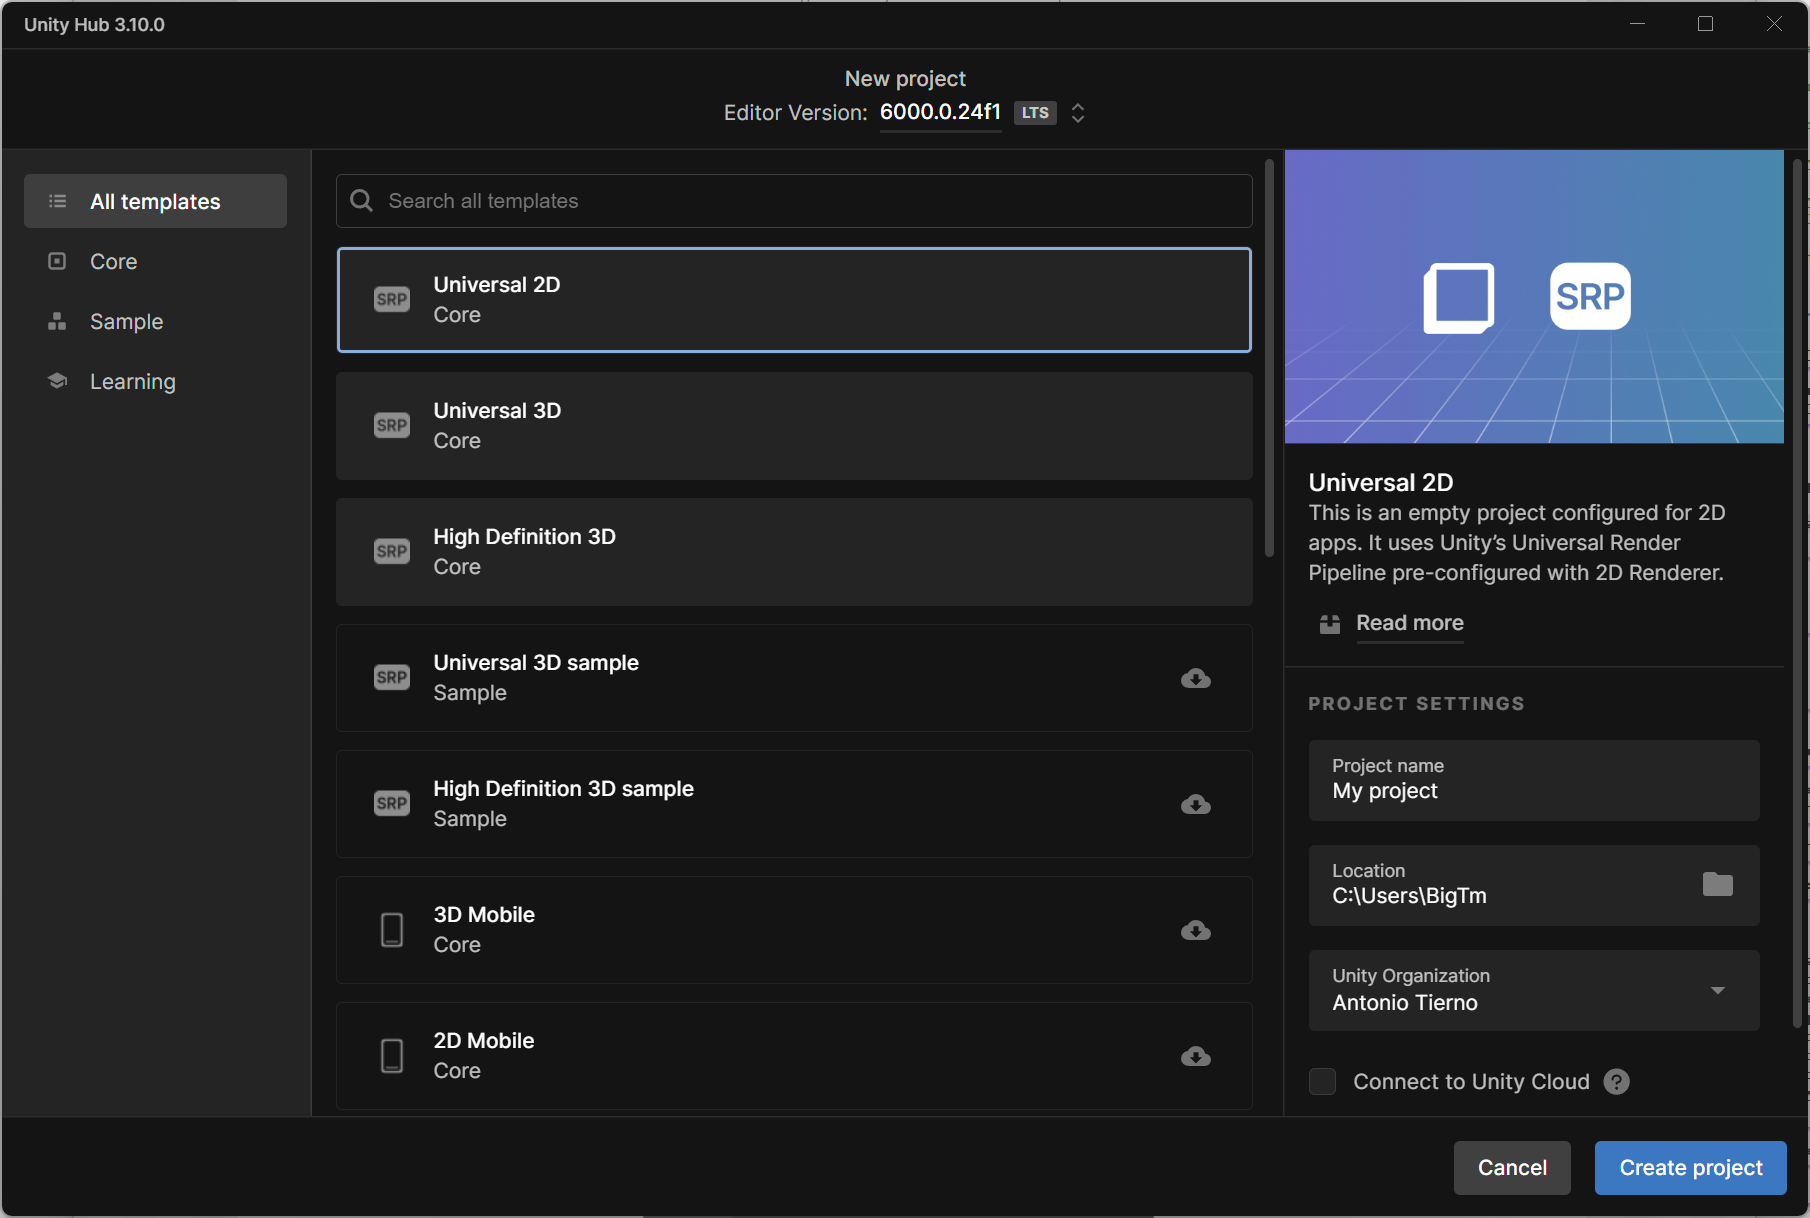
Select a name for your project and a home folder:

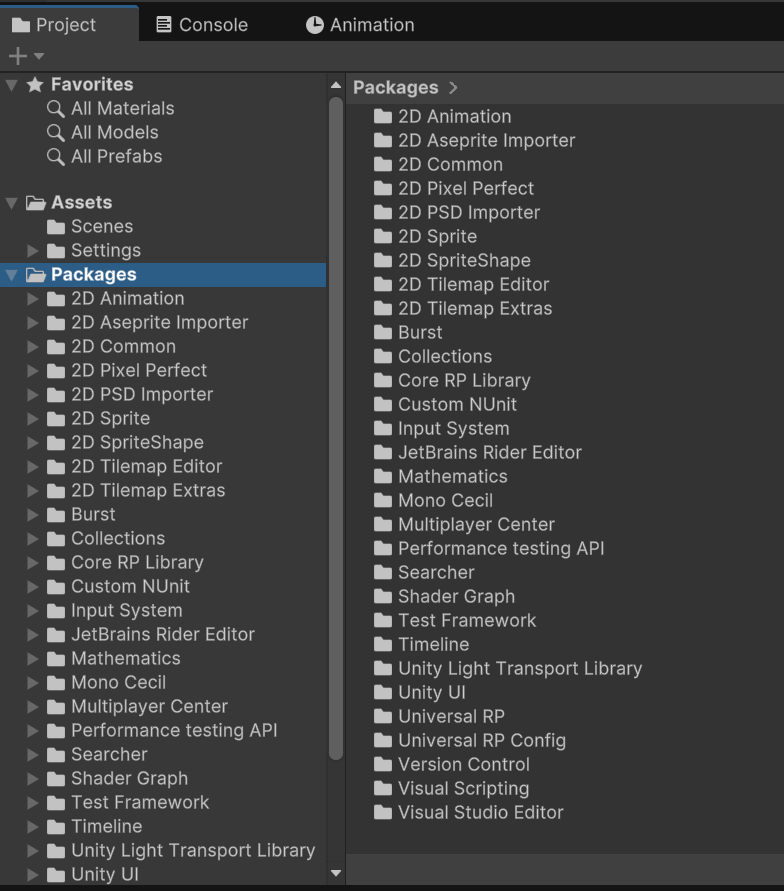
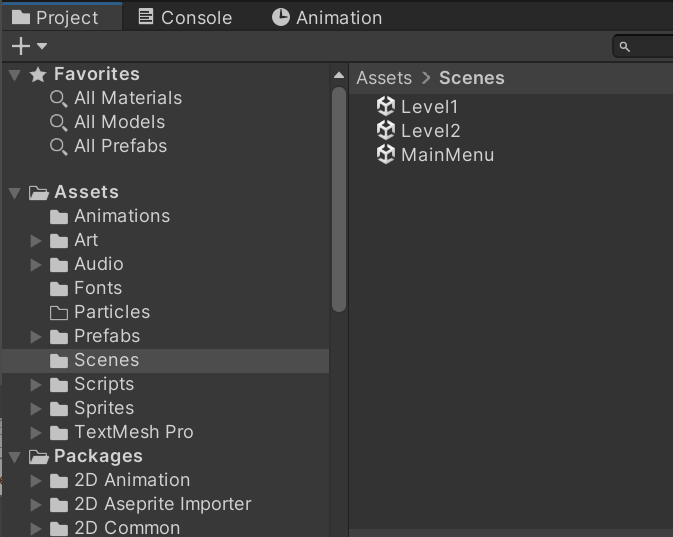
Since we picked the 2D template, in the project panel, you will notice a set of assets imported by default, which will ease your work:
But consider that you can also import a complete 2D Platformer game with complete pre-loaded assets (scenes, scripts, and more) to ease your learning.
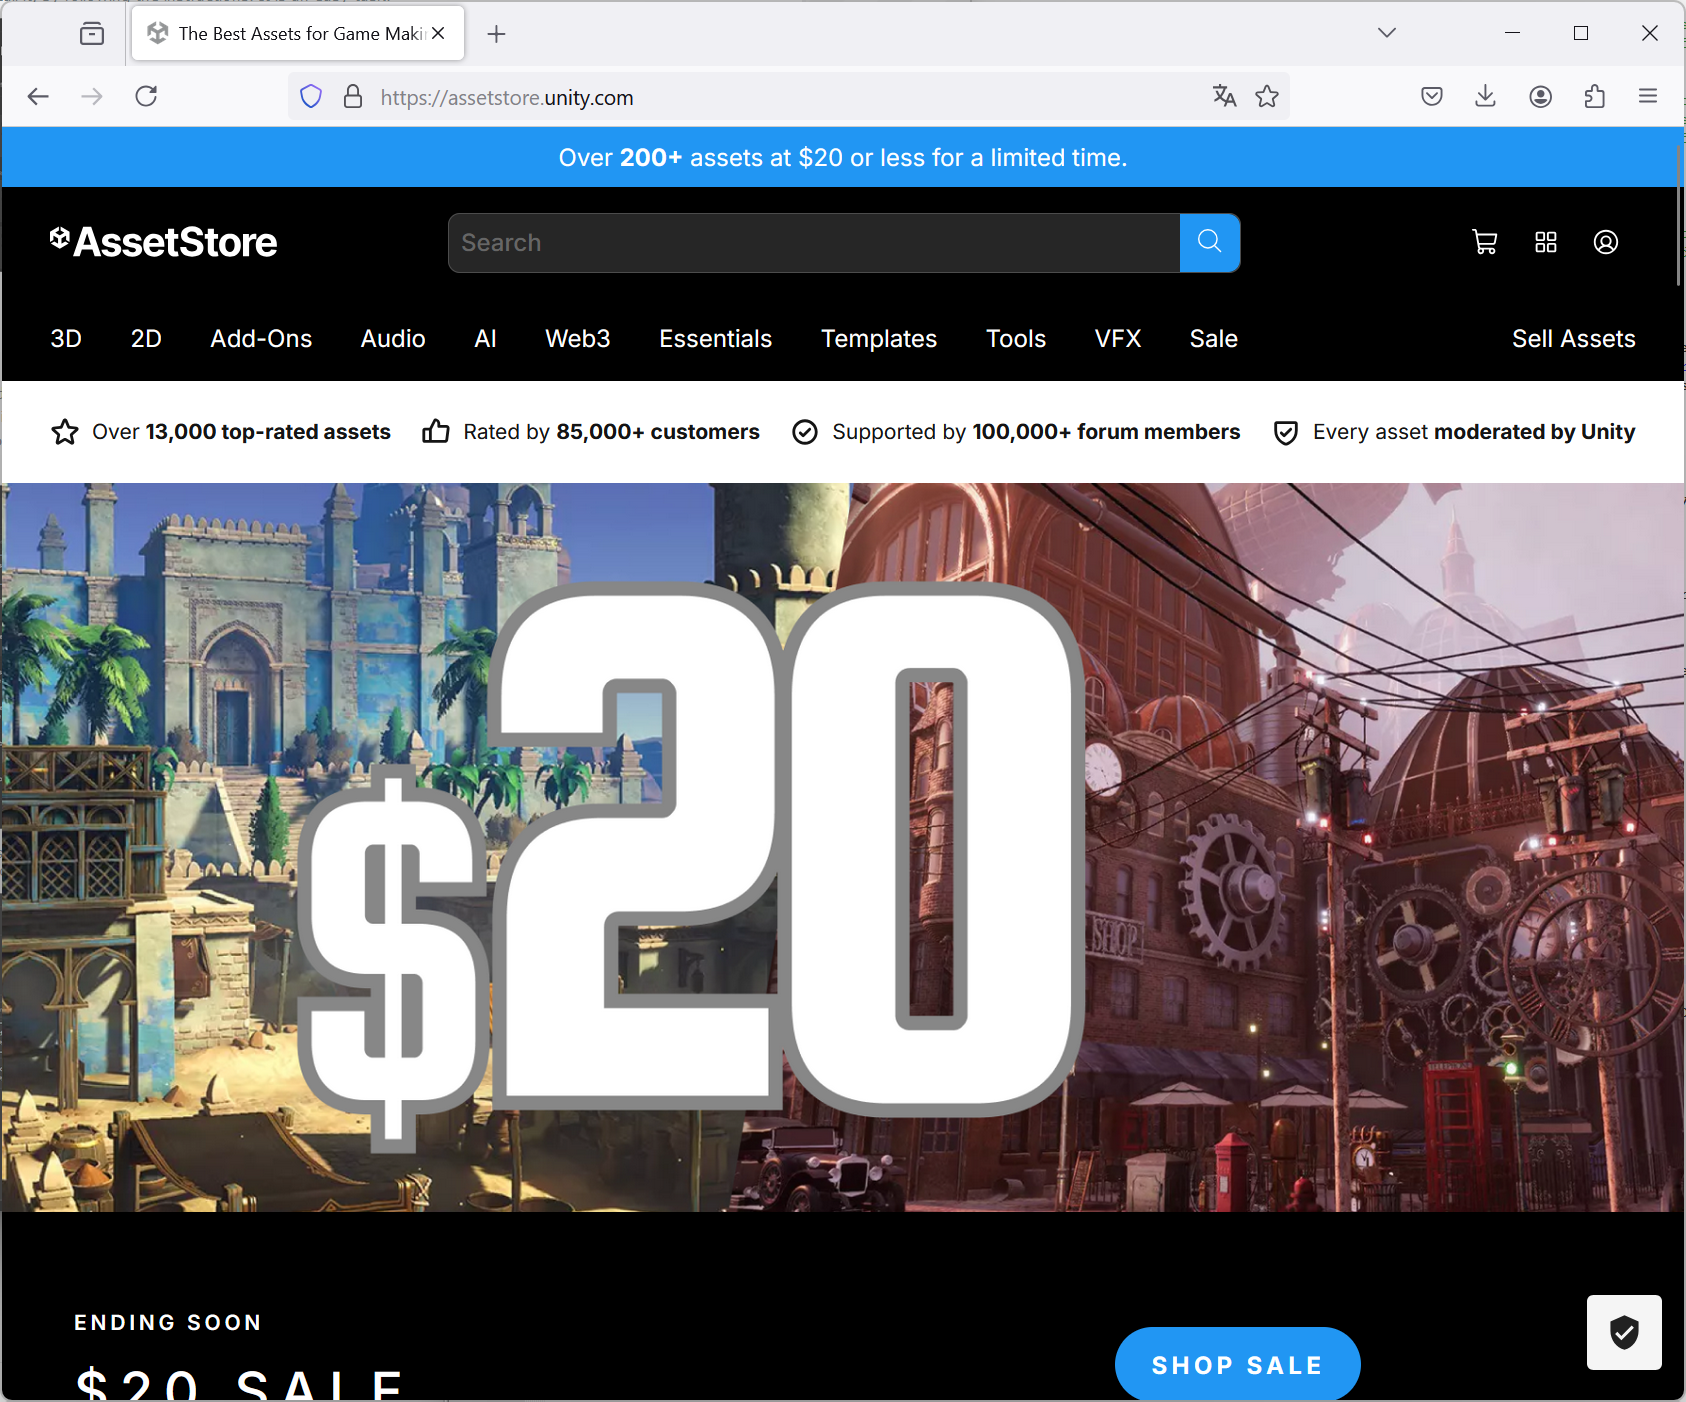
More in general, you can go to the Unity store at the following url: https://assetstore.unity.com/, and browse the assets by category. Pre-made assets can be useful to understand how they are structured and obviously you can copy from them.
As already stated above, an asset is any item that you use in your Unity project. Assets can represent visual or audio elements in your project, such as 3D models, textures, sprites, sound effects, or music. Assets can also represent more abstract items such as color gradients, animation masks, or arbitrary text or numeric data for any use. You can create some types of asset in the Unity Editor, or import from outside of Unity (like the Unity store). The following picture shows the typical workflow when you work with assets in Unity. Each column represents a separate step and is described below.
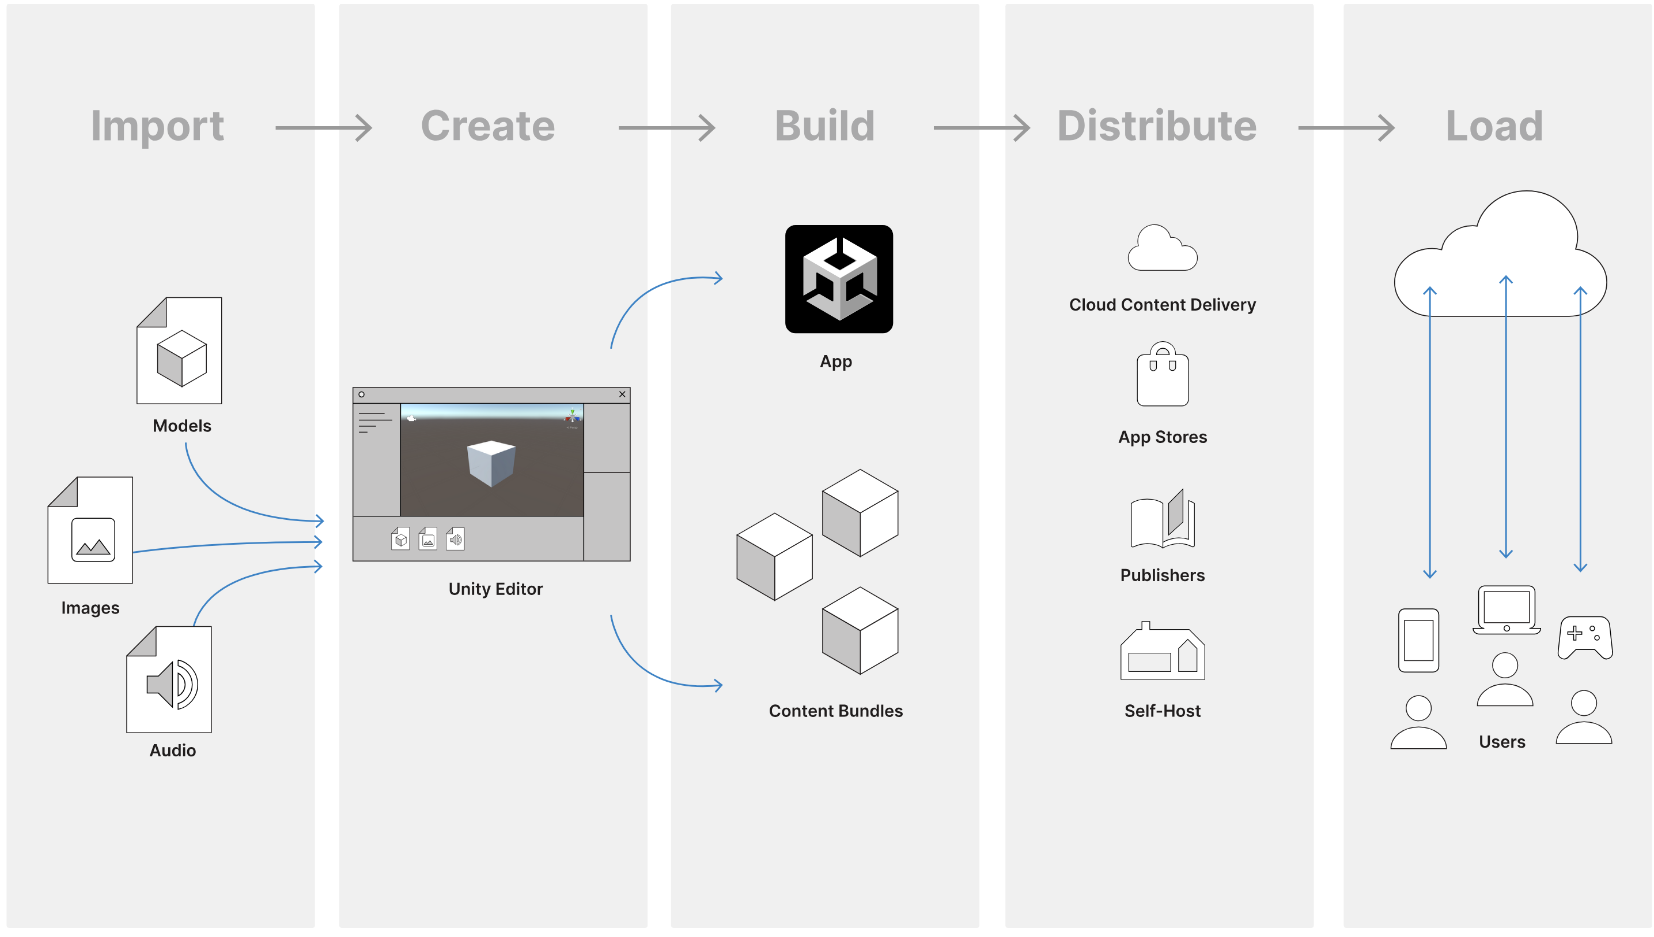
Importing is the process of bringing your source files into the Unity Editor to work with. When you save or copy a file into your project’s Assets folder, Unity imports that file and allows you to work with it in the Editor. It is important to learn some fundamentals of importing assets into Unity, such as where and how the files are stored in your Project.
Creating involves placing assets into one or more Scenes as GameObjects, and adding scripts that control how the user interacts with them. During the creation process, you can decide a strategy on how to group your assets into separate bundles, and implement the code for choosing when to load them.
Building refers to the process of exporting your completed project to binary files that you can then distribute and run on the platform of your choice. For example, when building for Windows, Unity generates an .EXE file, along with some accompanying data files which you can then distribute.
Distributing: once you have built your game or app and its content bundles, your users need a way to access it. Your choice of distribution method depends on the platforms that you’re targeting. For example, mobile platforms have their own app stores, you could use a professional publisher, or you could self-host on your own servers. Unity offers its own Cloud Content Delivery service, allowing you to host and deliver your game or app and its content to your users, and is fully integrated into the Unity development platform. This can save lots of time and is valuable for content-rich, live games or applications that require content updates on a regular basis.
The Loading process to use your game is defined by the rules and programming that you set up, and the way that you grouped and bundled your assets. You can provide fast initial downloads, and ongoing updates and extra content which you can roll out over the lifetime of your project.
Although there is no single way to organize a Unity project, we list some key recommendations. They can help you to keep the project polish, especially when it becomes complex.
Fix a folder structure. This makes files easier to organize and locate.
Fix naming convention. Once you have defined a naming rule, be consistent with it.
Do not use spaces in file and folder names. Unity’s command line tools have issues with path names that include spaces. As alternative, use CamelCase convention: write names without spaces or punctuation and with capitalized words.
Keep your own assets separate from third-party ones. If you are using assets from the Asset Store or other packages, these have their own project structure. Keep your own assets separate.
Here is an example of structure organization.
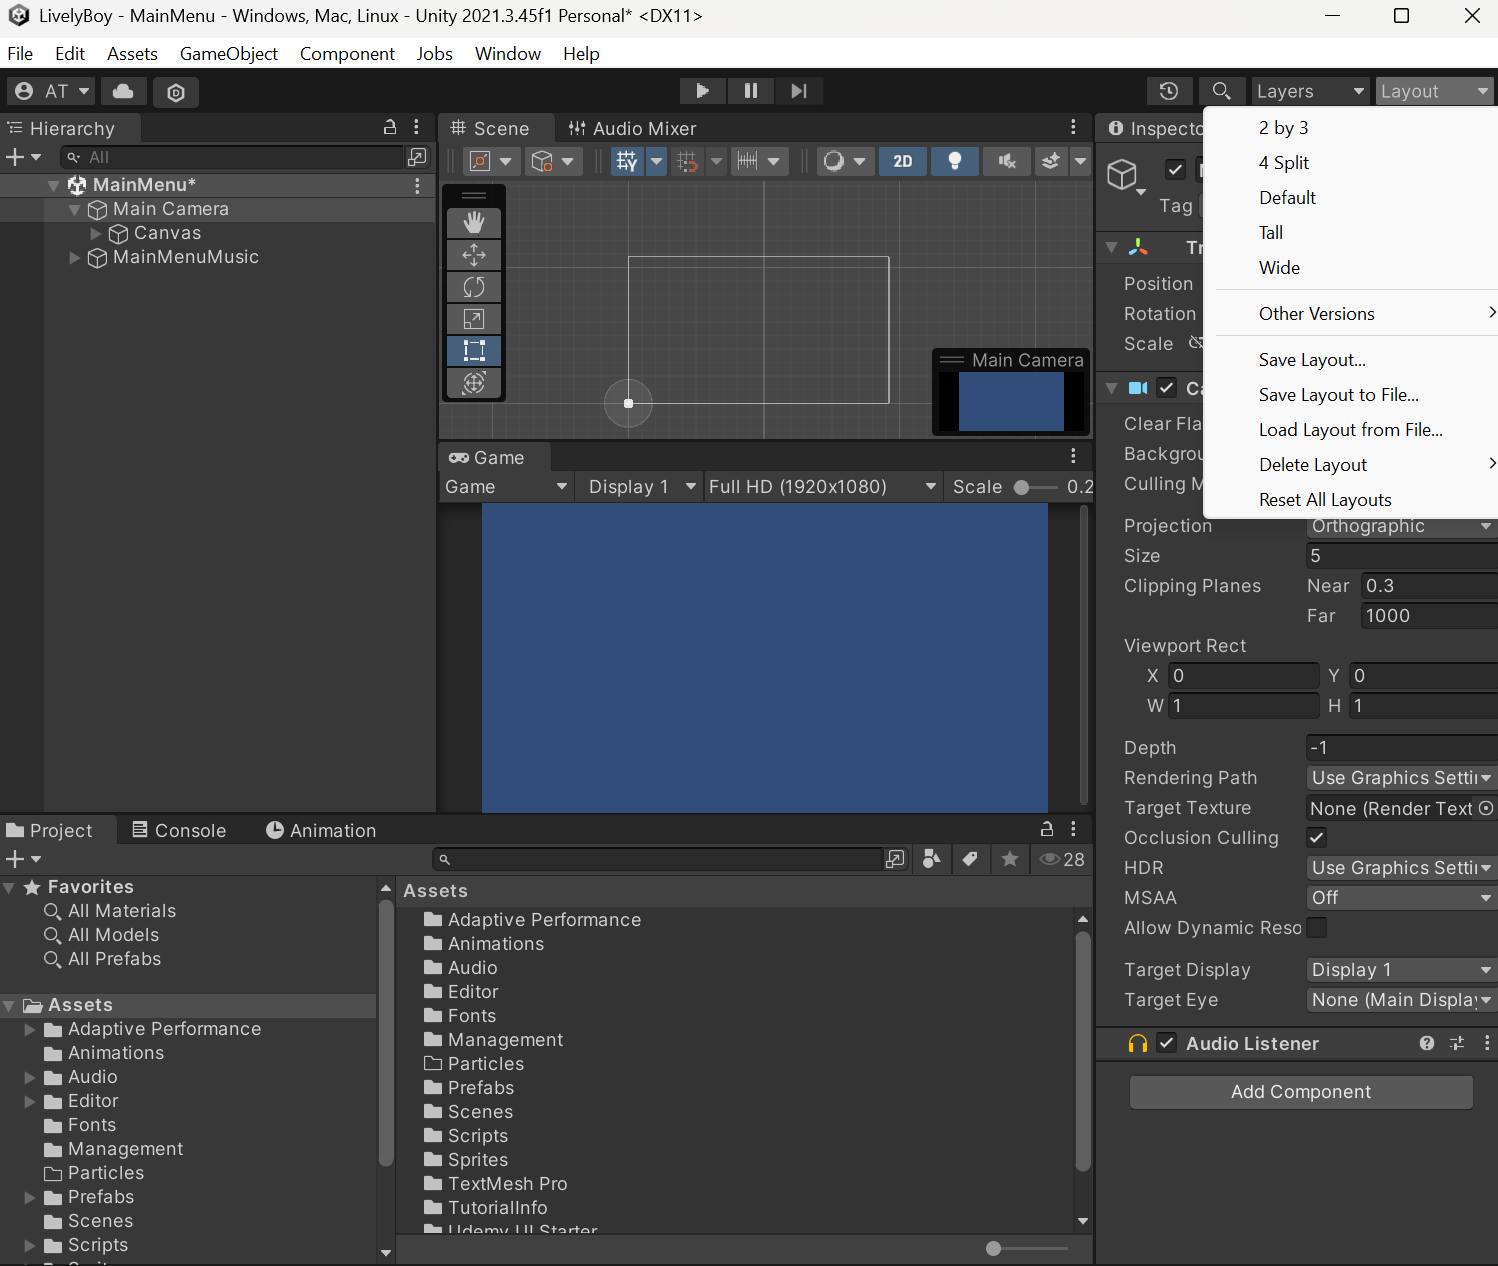
Unity is very flexible, and also editor’s layout can be customized as you like. The main 5 panels in Unity are the following. They are open when starting a new Project.
The Project window. It displays all of the files related to your Project and is the main way you can navigate and find Assets and other Project files in your application.
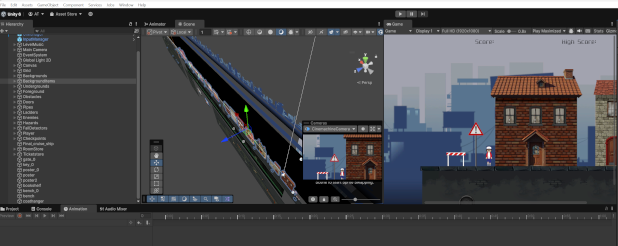
The Scene view. It contains the menus and the environments of your game. Think of each unique Scene file as a unique level, each containing environments, enemies, and obstacles.
The Hierarchy window. It displays every GameObject contained in the current Scene.
The Inspector window. This window allows you to view and edit properties and settings for almost every object.
The Toolbar. It is located at the top of the Editor, and consists of several groups of controls. It is not a window, and is the only part of the Unity interface that you cannot rearrange.
The Game view. It displays how your application looks, controls the Cameras, and offers various options to adjust the display, aspect ratio, and resolution.
But you can add many more widows and arrange as you prefer. You can switch layout by using the drop-down in the top right corner.
For example, the following pic shows the Tall Layout.
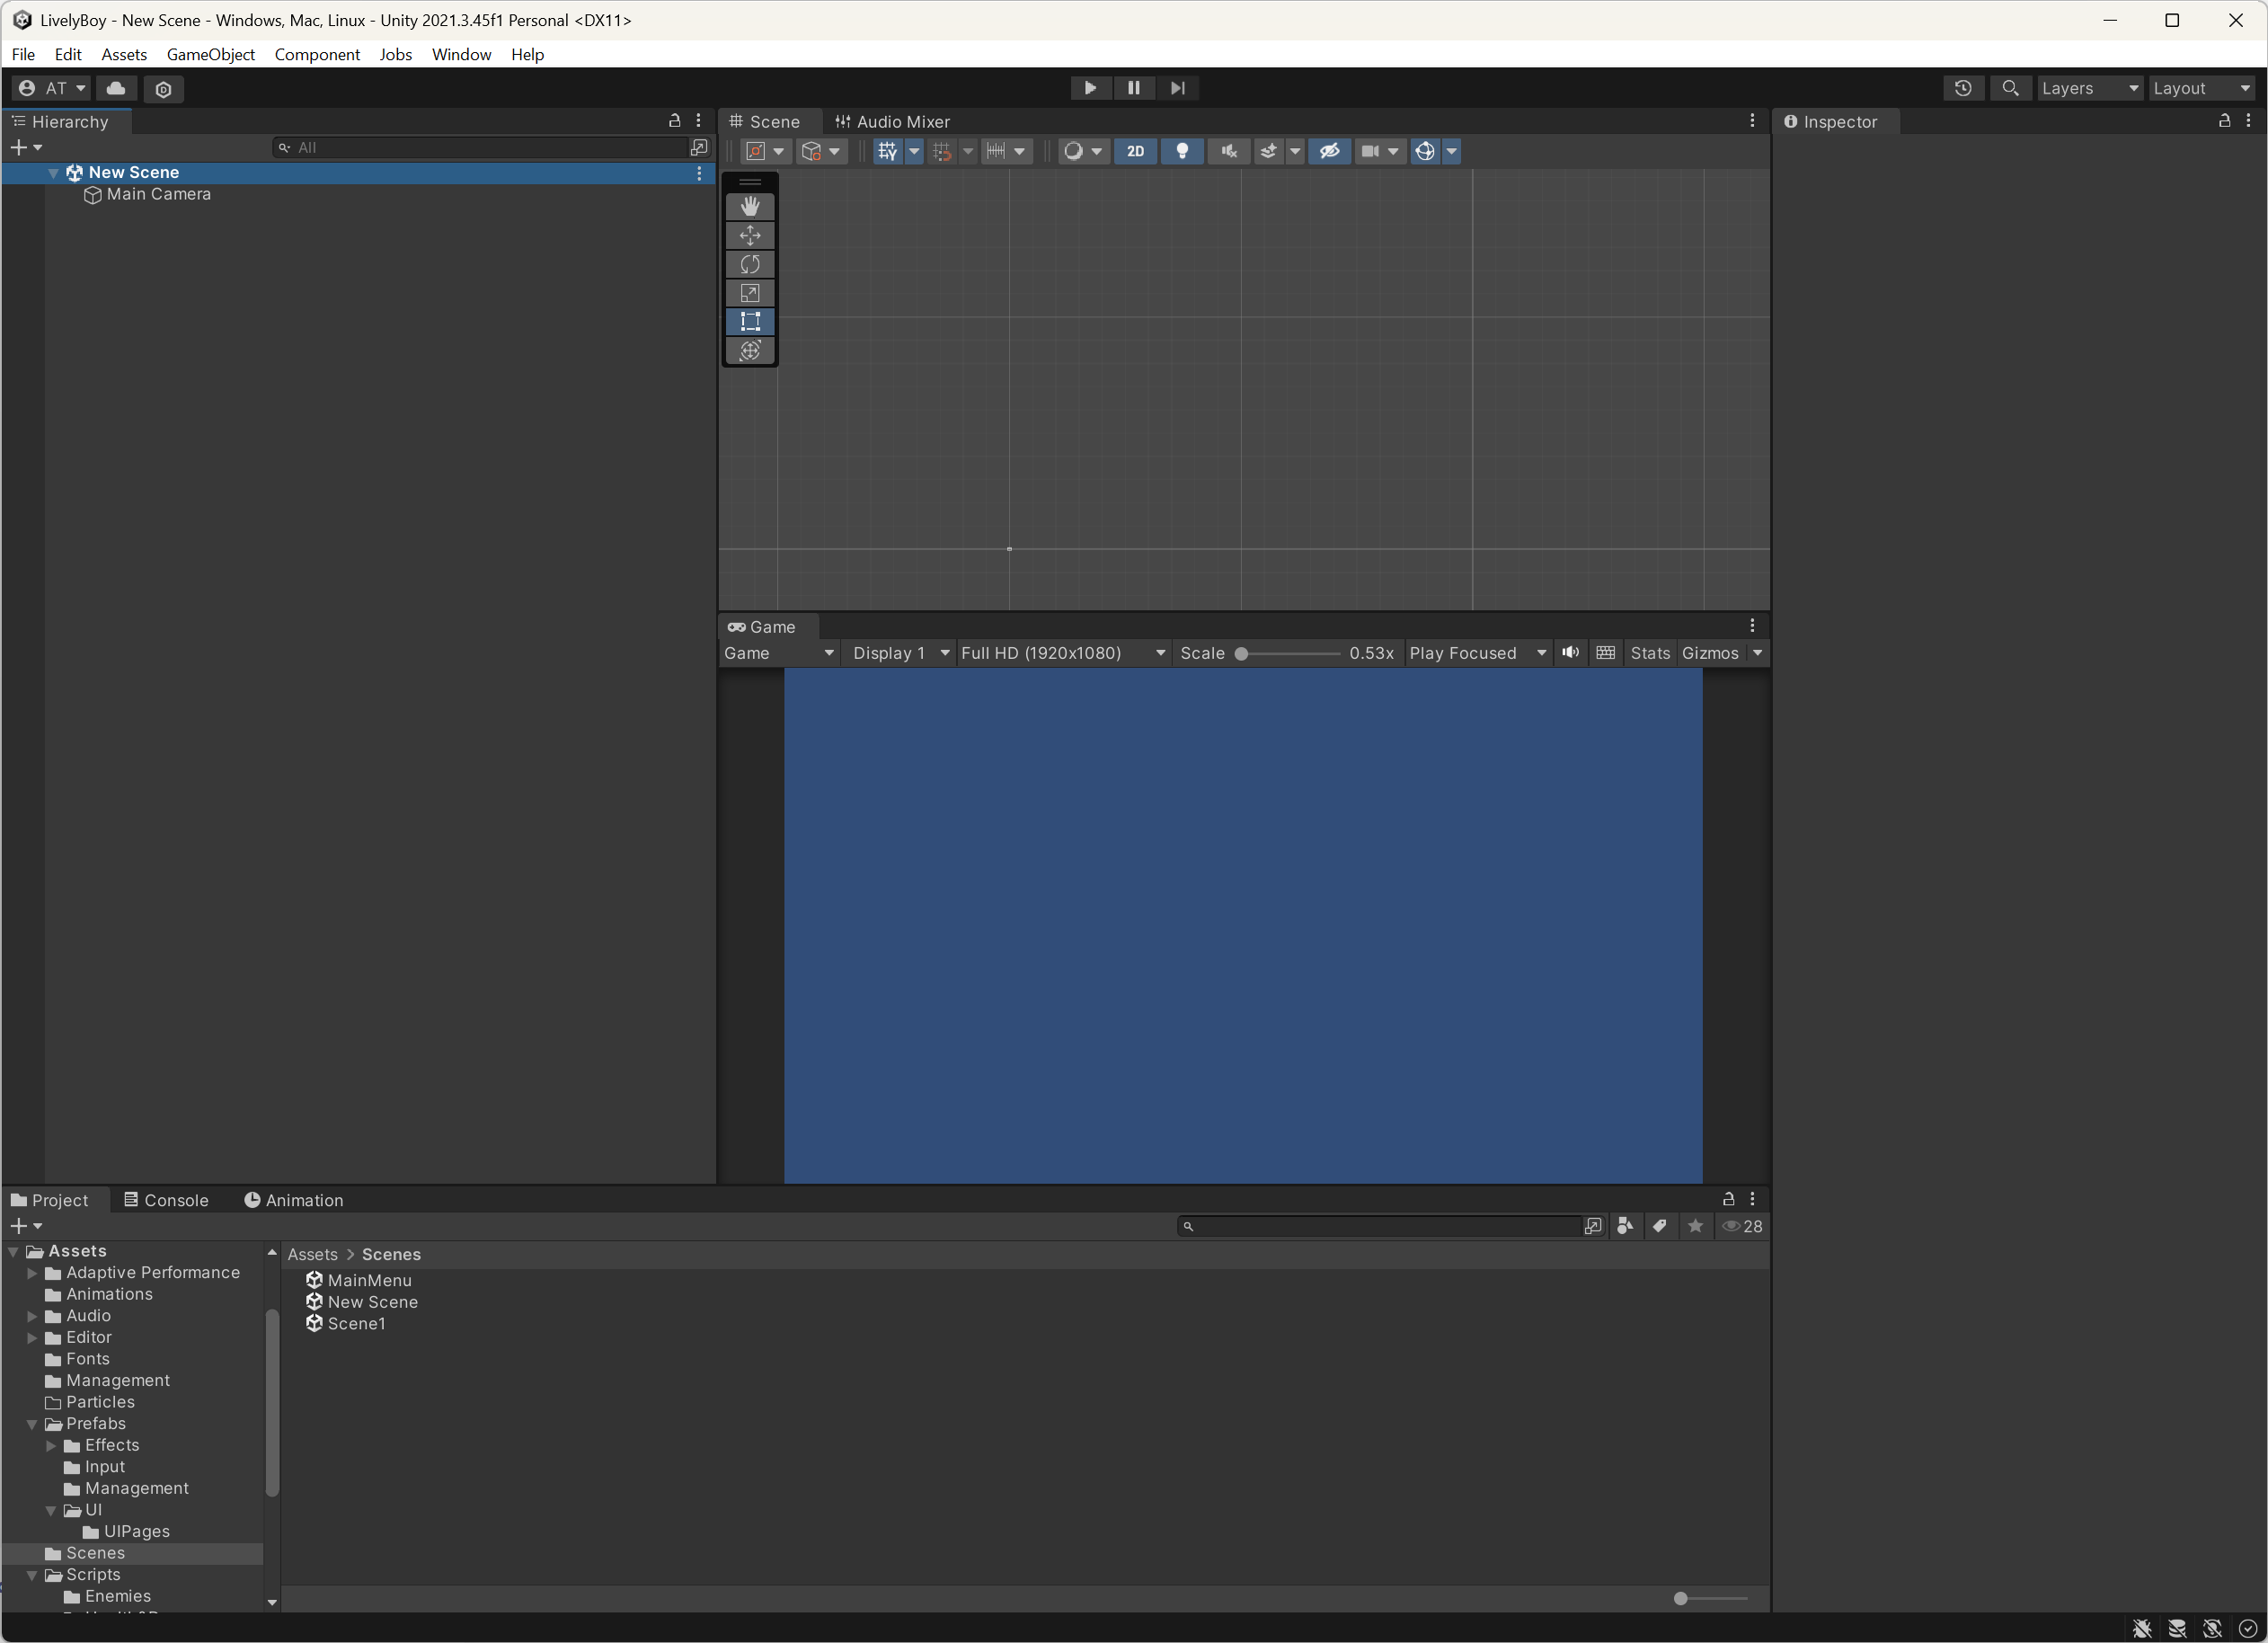
There is no best layout. It is up to you. I personally like the layout illustrated in the folloiwing pic, and often I change it depending on the specific task (for example, when using Animator or Animation windows).
With the release of Unity 6, a new Input System has been introduced and is now the standard for managing player input. The Input System simplifies the process of setting up, configuring, and managing player input through code, making it easier to develop and iterate on user input systems. As of Unity 6, developers are encouraged to use the Input System for all new projects to take full advantage of its advanced features and capabilities. Let's see how to employ the Input System Package
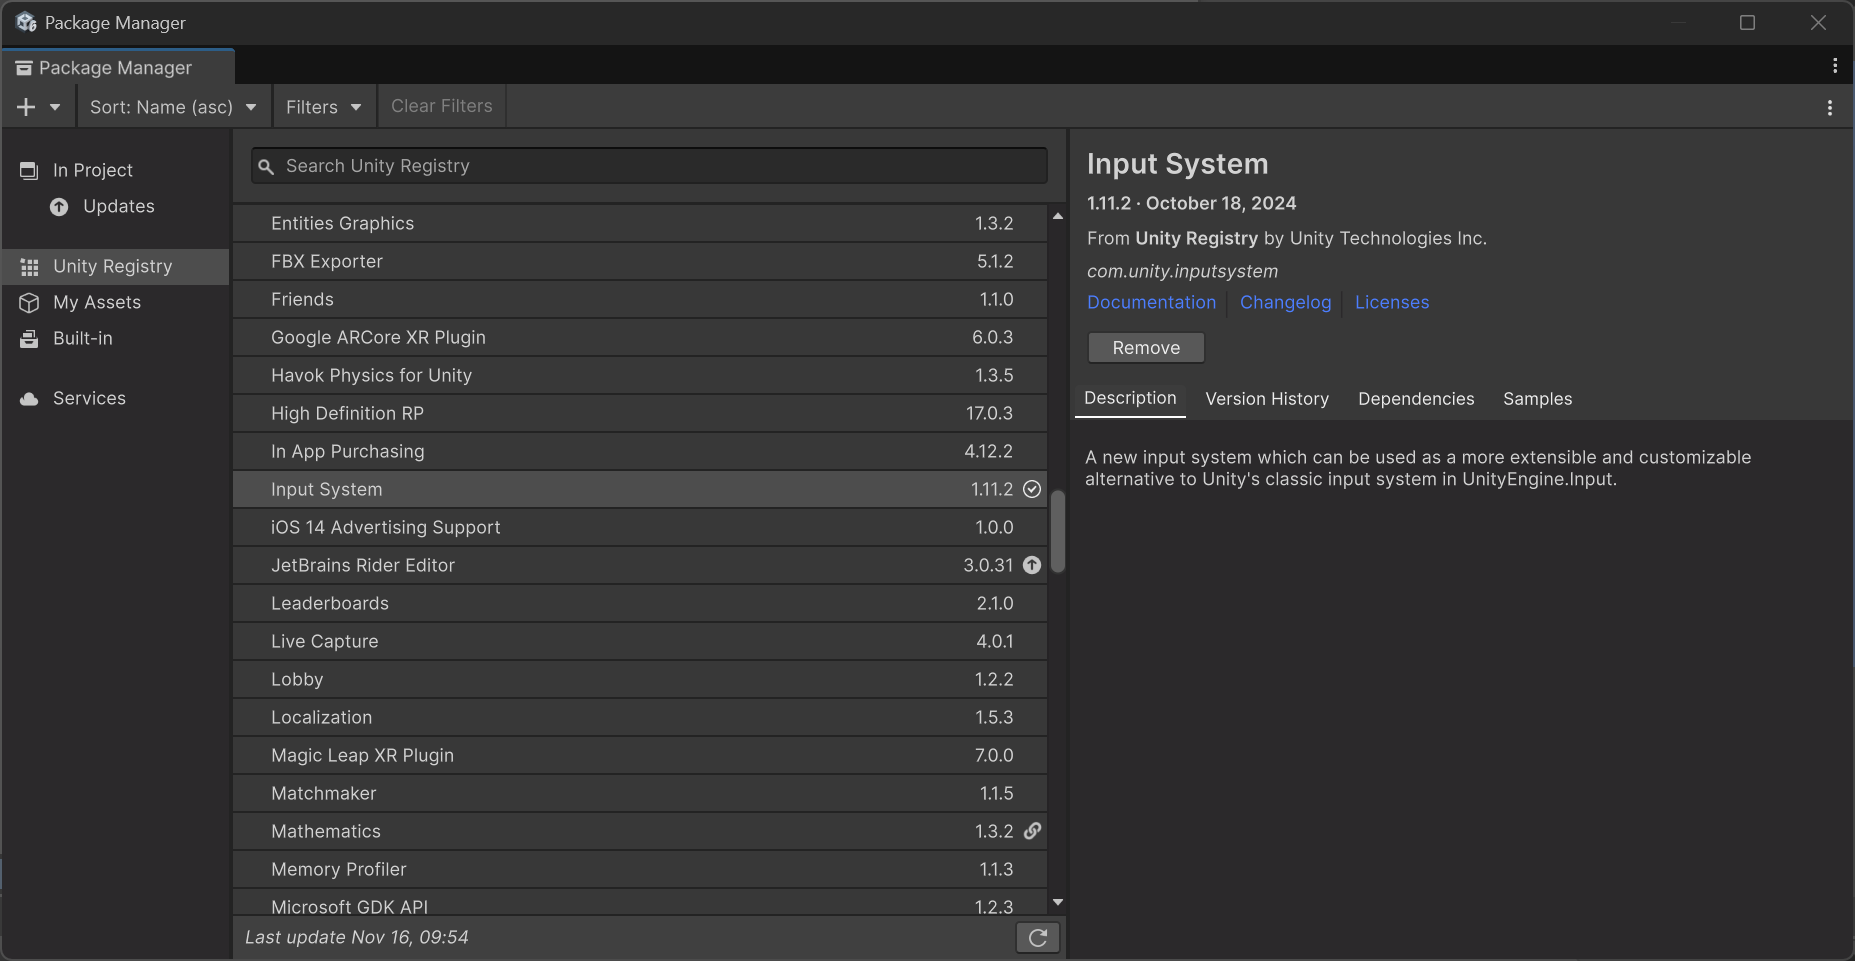
1) Import Imput System Package From the Window drop-down menu select Packet Manager, select Unity Regitry from the left panel menu and look for Input System package. Click on install button.
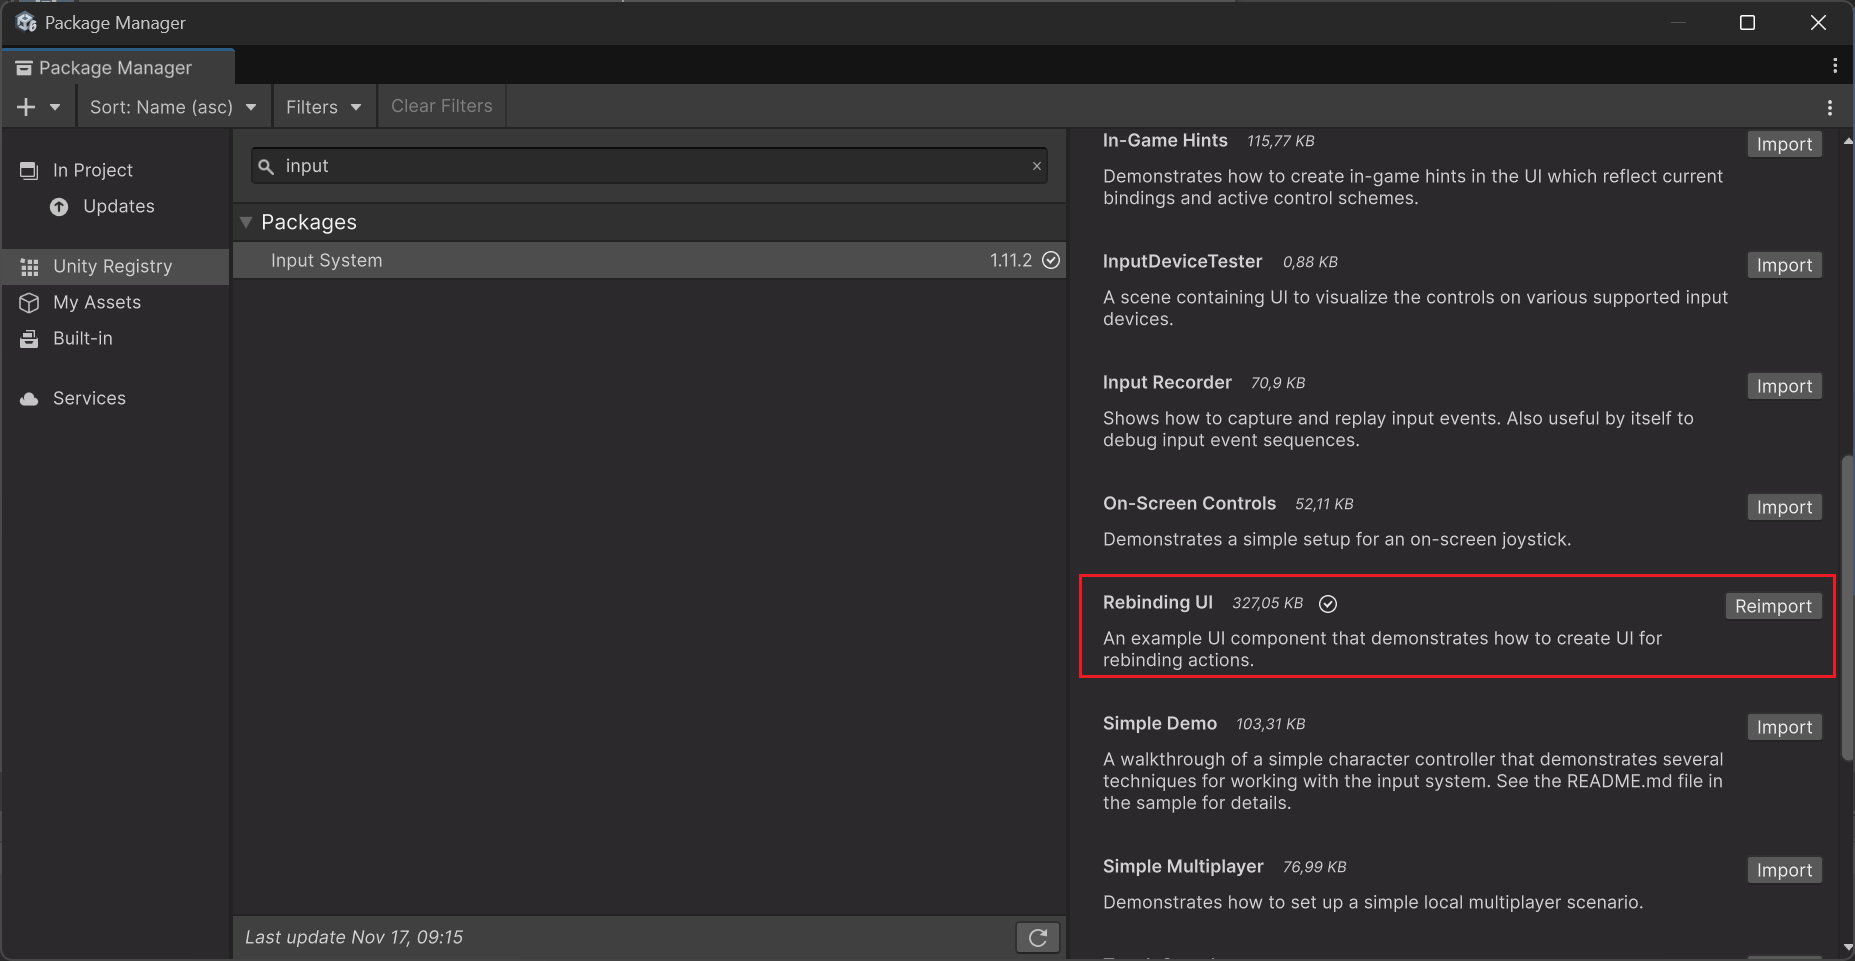
If you have in mind to include also a control settings panel in your menu - to let player change settings - you can also import some pre-made examples provided by Unity. Open the Package Manager, select the Input System Package, and choose the sample project "Rebinding UI" to download.
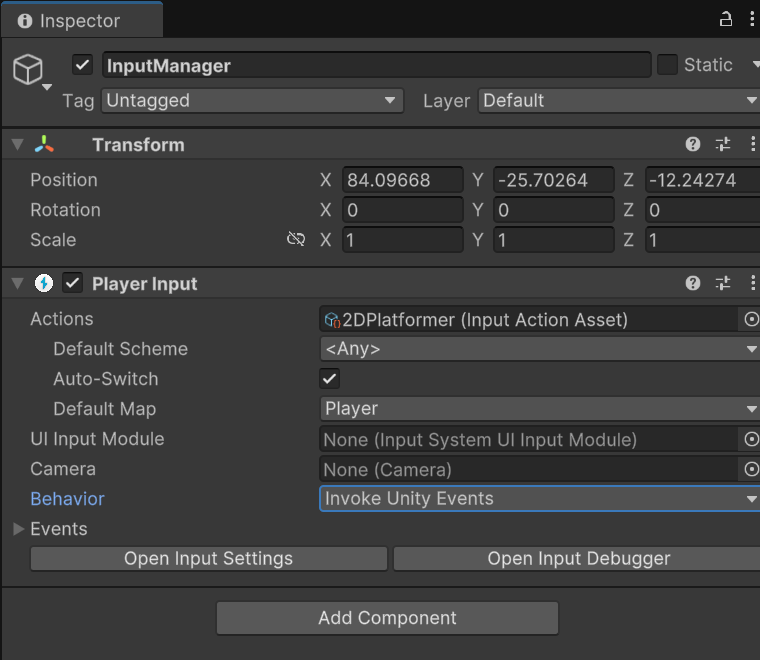
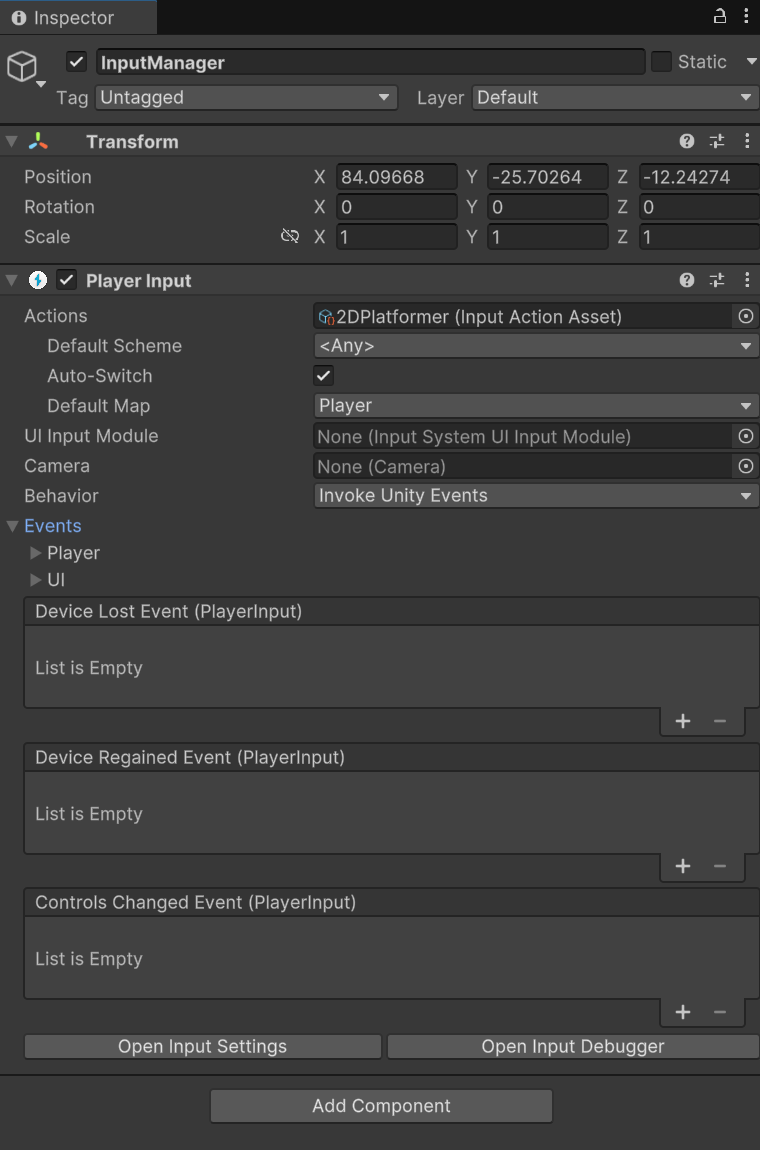
2) Add component Add the Player Input component to the game object. In our case, we attach it to the Input Manager gane object.
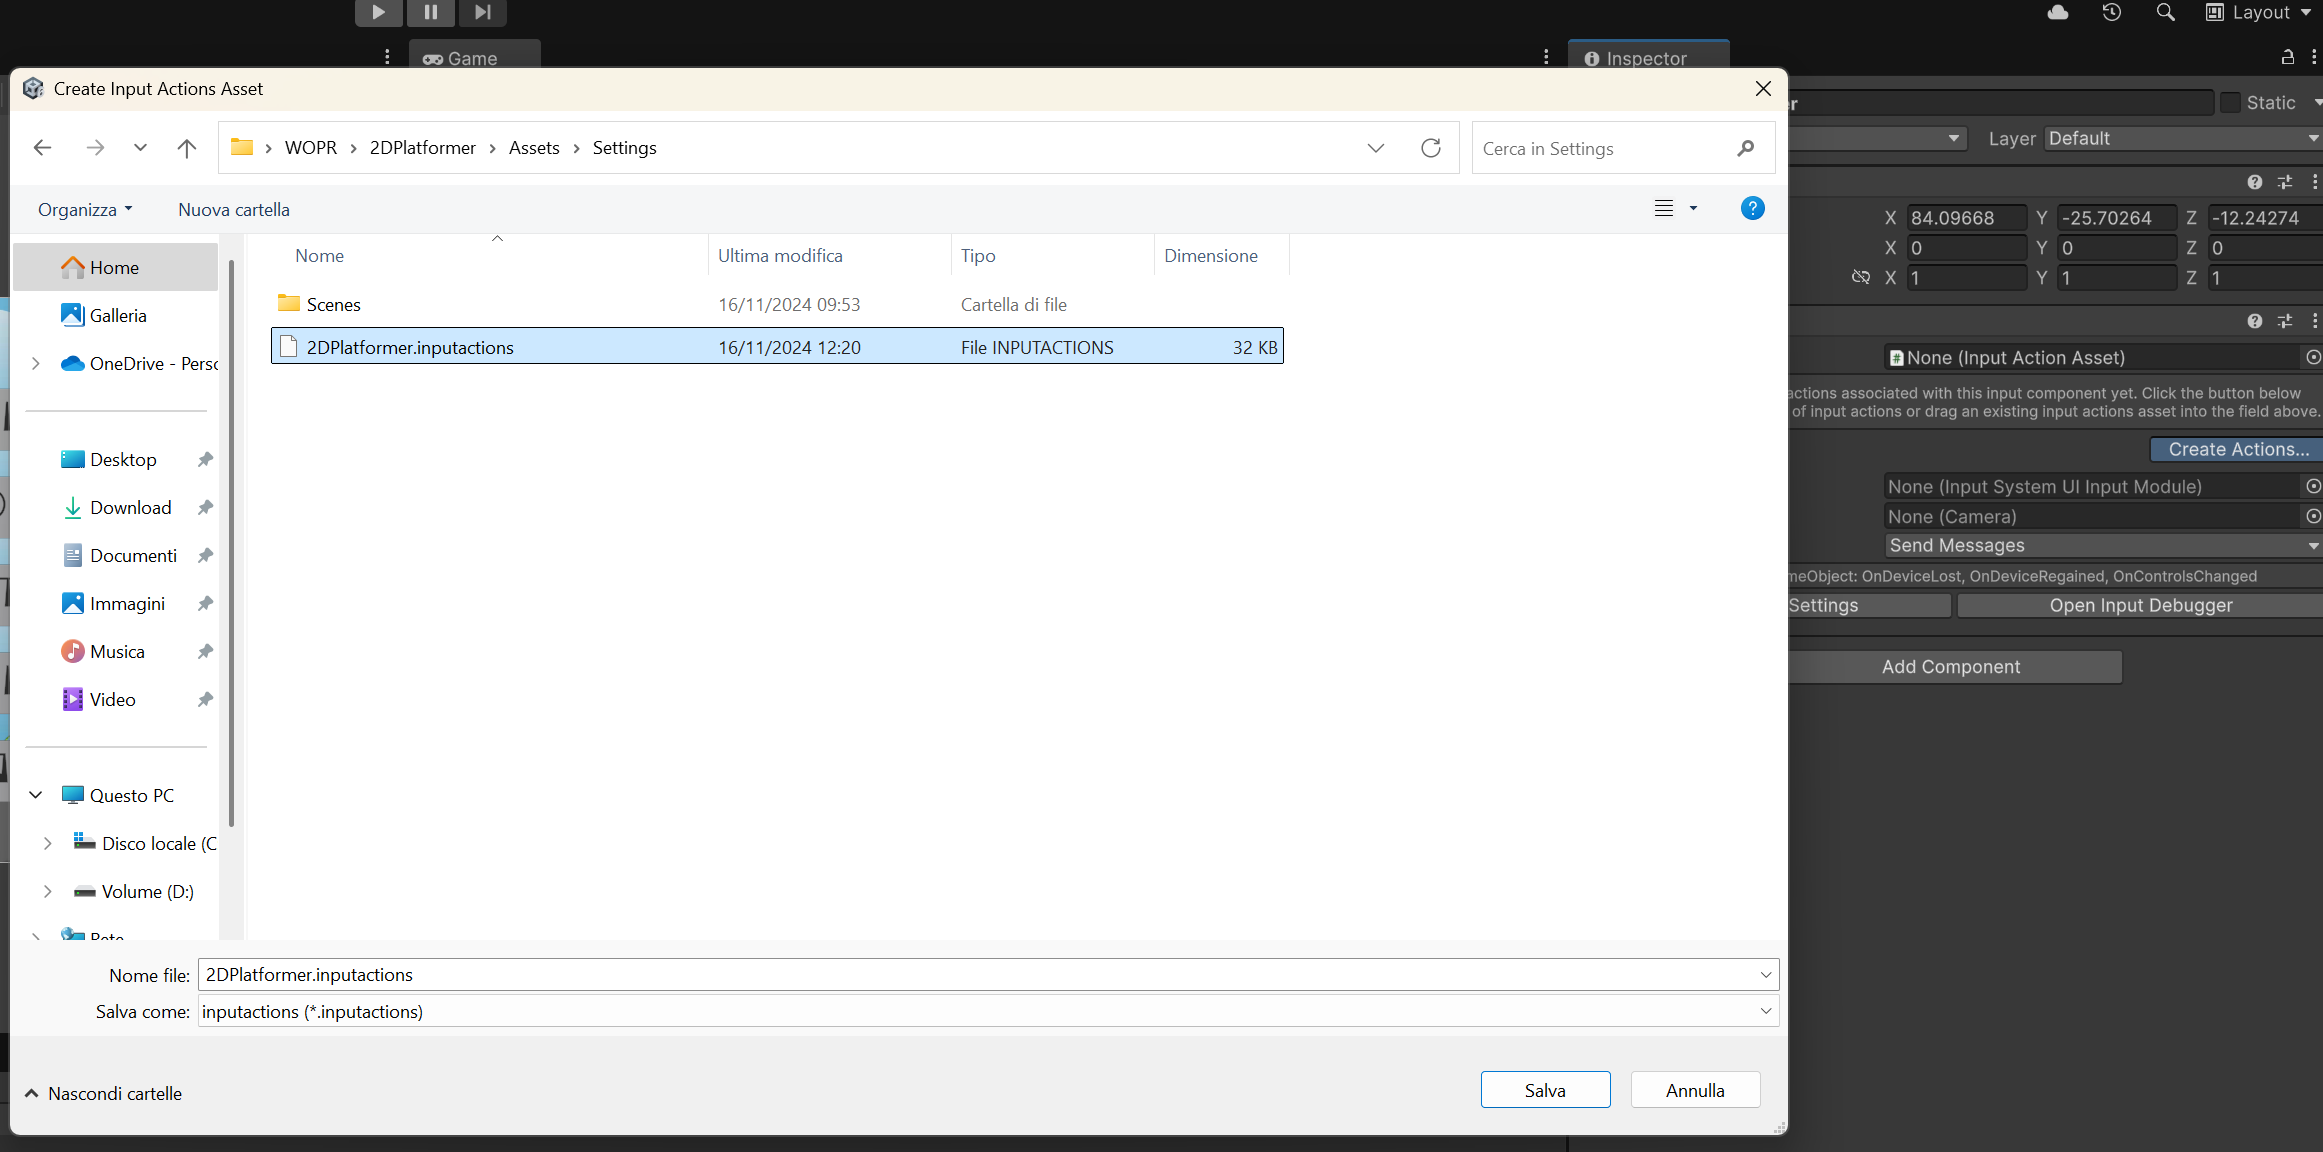
3) Create input actions text
4) Add new actions You may add binding to new actions, e.g., jump, bomp, roll, cruch, and whatever you want for your player.

5) Change behavior
6) AvilableActions Text
7) ControllerScriptUsingInputSystem Later, you will have to add a controller script that uses tha Input System created so far. In the next lessons, you will find an example script that you can modify at your liking.
You can download the packge with the complete project and assets used in this lesson at this link: DOWNLOAD
How to use the attached files:
1 - Extract the archive
2 - From your Unity project, go to the top bar menu Assets -> Import Package -> Custom Package...
3 - Select the extraced file (it has extension .unitypackage)
Now you have a fully working project to start with. Note: if using different versions of Unity, you may have compatibility issues. If you want to use the files provided, we suggest that you use the same version.