
Lesson 1: Basics
Install Unity
At the page https://store.unity.com/ you can choose the version to download. For beginners, the personal (and free) edition is more than enough. Install it, by following the instructions. It is an easy task.

Create a new project
Once Unity has been installed, run it and start a new project. Select the location you want to store data, type the name, and select 2D option. Note: Be sure you have write access to your project's folder to avoid Access Denied errors.
First of all, you have to know that you can import 2D assets already prepared by Unity, to simplify your work. There are two way to get them. You can go on the project panel and right, and then select "import Package" in the context menu.
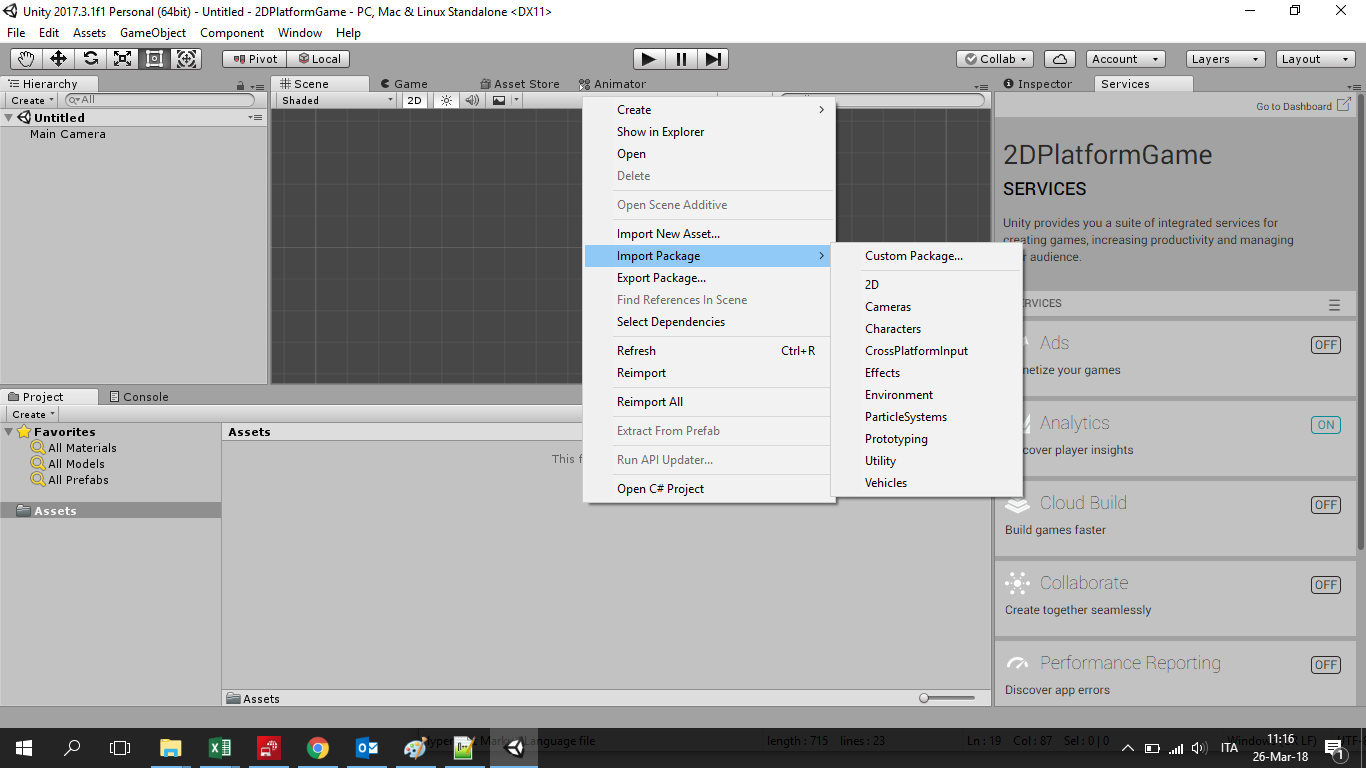
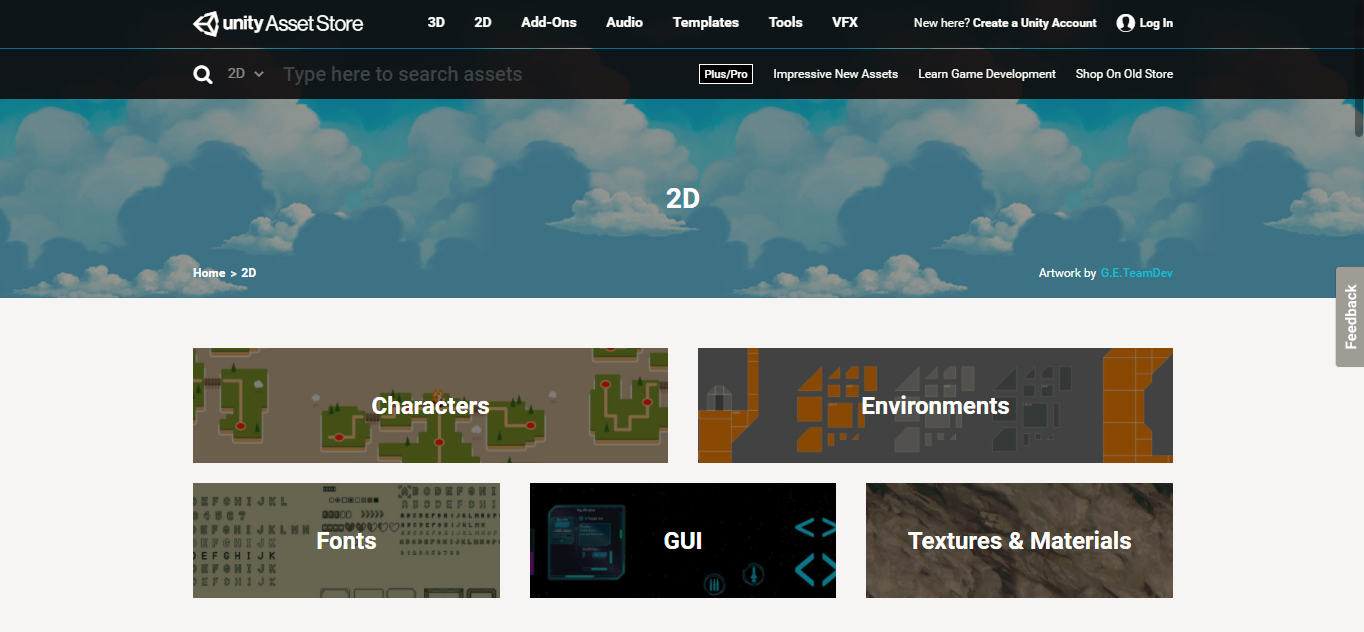
Alternatively, you can go to the Unity store at the following url: https://assetstore.unity.com/ . I suggest that you use the second option: updated standard assets are available and you can browse them by category and have a preview.
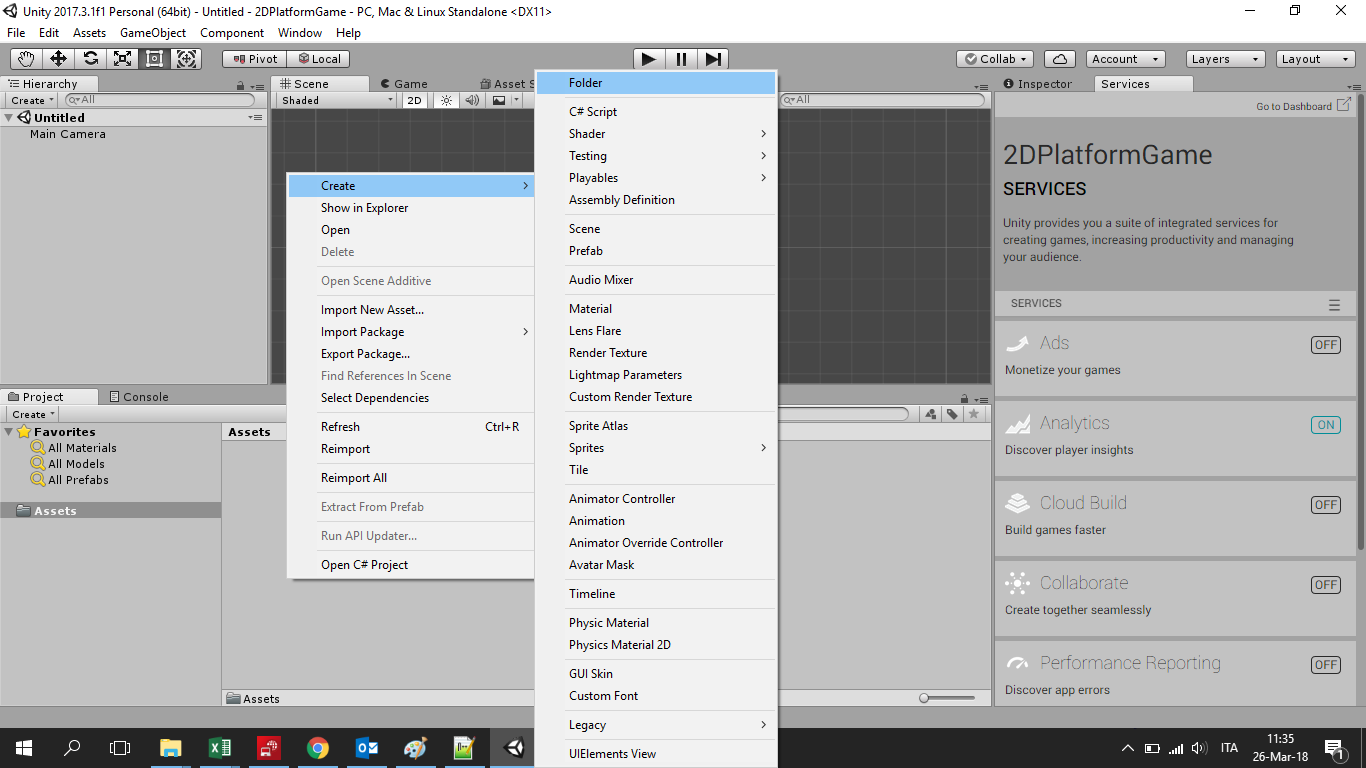
You can use pre-made assets to understand how they are structured and obviously you can copy from them. As preliminary action, we can create a few folders for our project by right-clicking on the panel and selecting "create folder".
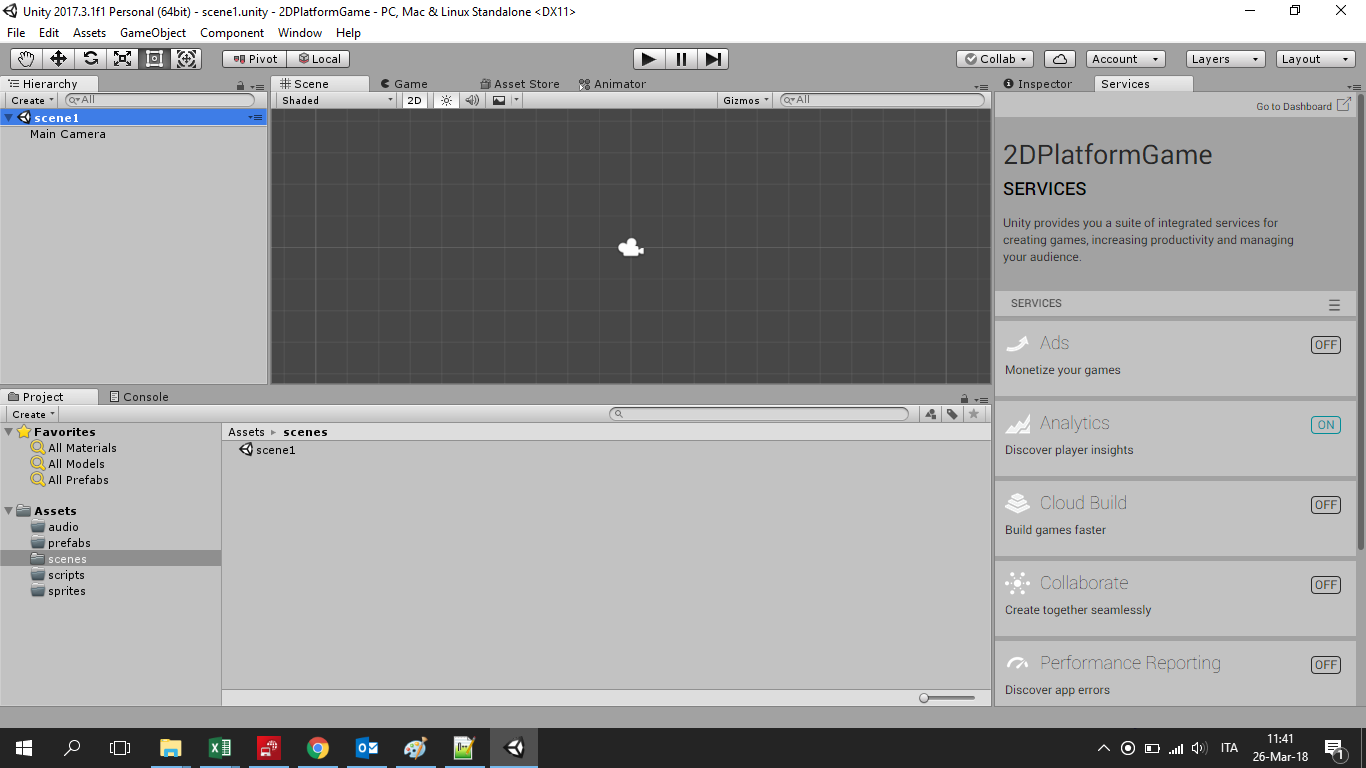
I usually create the following ones: audio, prefabs, scenes, scripts, sprites.

At this point save the current scene in the namesake folder: it will be our first level.
Project setup
The background
When you create a new scene, by default Unity will create the scene and a "Main Camera" object. In this game, I want to have scrolling backgrounds with parallax. To do that, firstly I add a background to the camera. This one will be a fixed background associated to the camera and always present on the screen. It will also be the farthest. Scale it to adapt it to the screen size.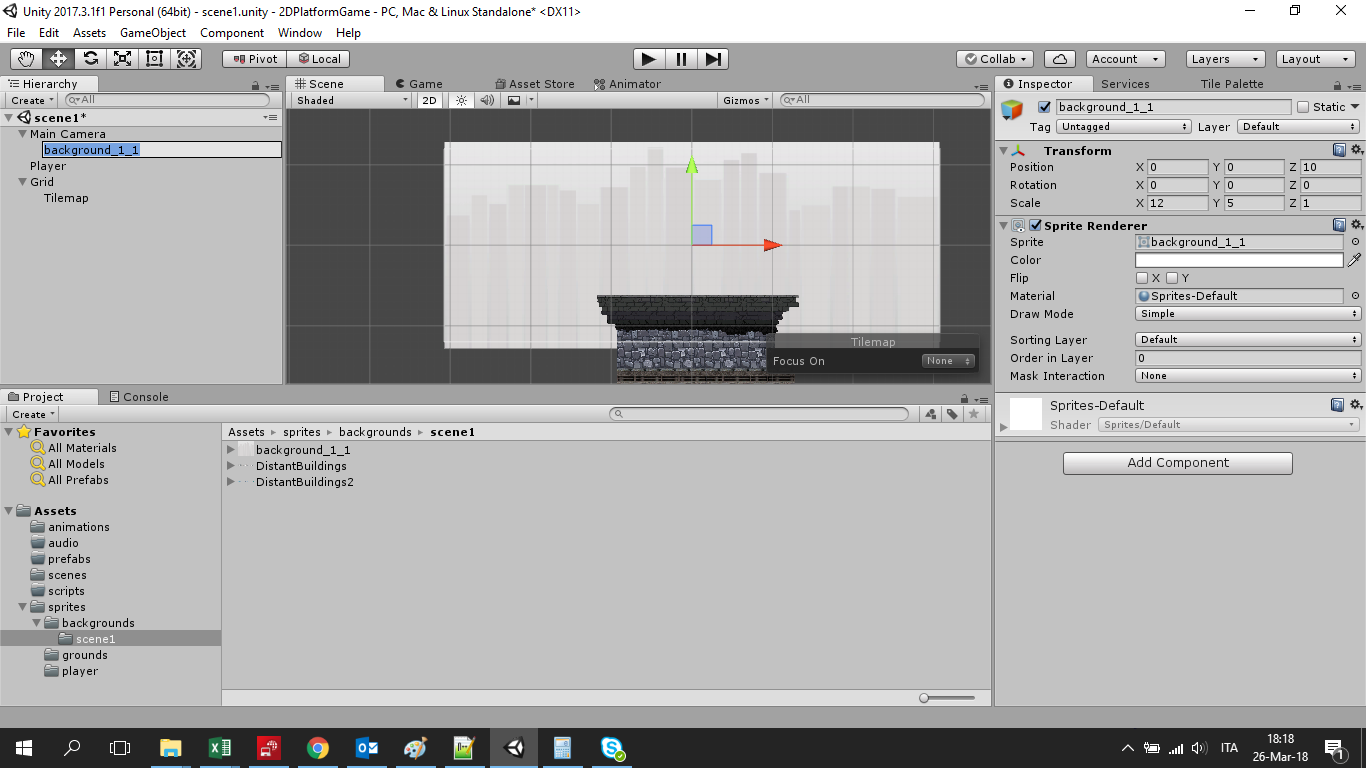
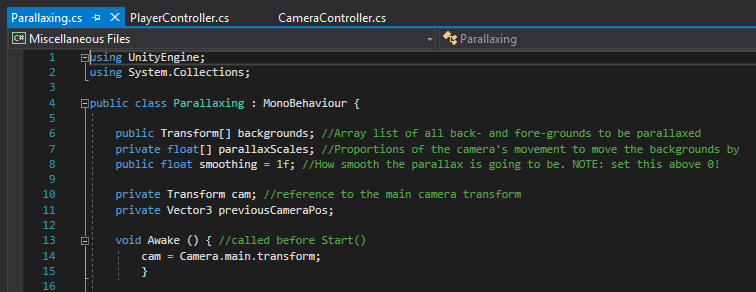
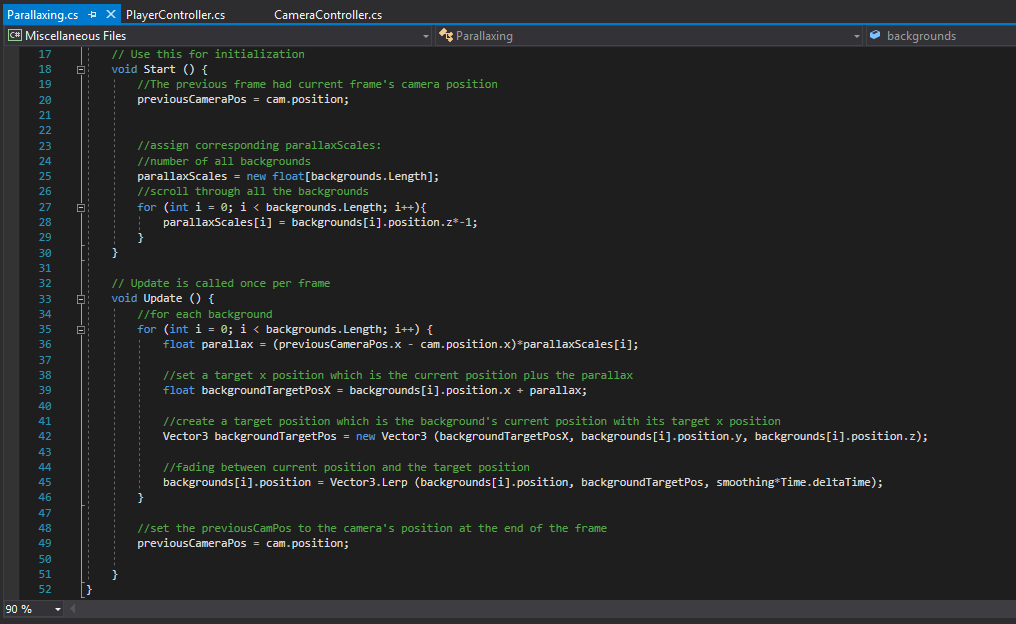
Basically the concept is very simple: we are going to create an array of objects (2 in this case, but we can add more) to be parallaxed:
You can download the sprites used in this lesson at this link: DOWNLOAD